> For the complete documentation index, see [llms.txt](https://docs.pascom.net/llms.txt). Markdown versions of documentation pages are available by appending `.md` to page URLs; this page is available as [Markdown](https://docs.pascom.net/setup/endpoints/yealink-dect.md).
# Yealink DECT-System
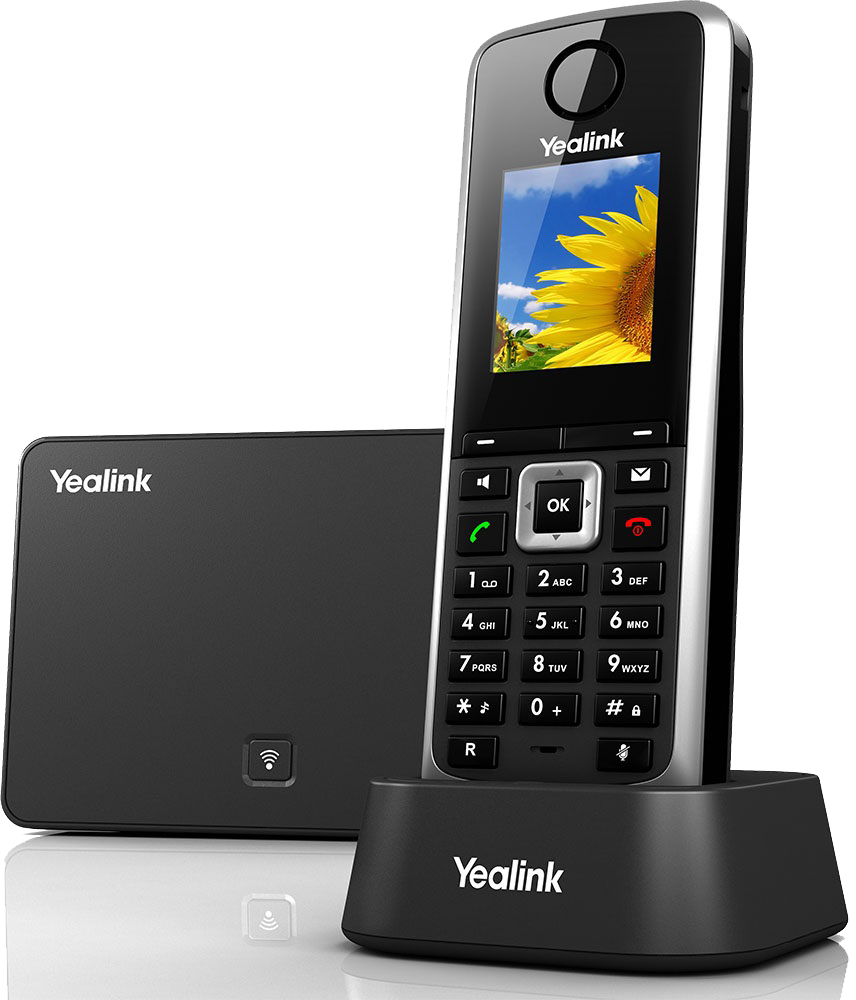
Integrieren Sie Ihr Yealink DECT-System in die PASCOM.
## Unterstützte Geräte
|Modelle| |---|---| |W60|W70|
## Neue DECT Basisstation hinzufügen
### 1. DECT System anschließen
Integrieren Sie das DECT-System in Ihr Netzwerk.
### 2. MAC-Adresse ermitteln
Die MAC-Adresse steht auf der Basisstation oder einem beigelegten Merkzettel.
### 3. Basisstation anlegen
Loggen Sie sich in Ihrer Telefonanlage ein und fügen unter **Gateways** > **Gatewayliste** ein neues Gerät vom Typ **Gateway:Hersteller Yealink** hinzu.
Tragen Sie im Feld **Mac-Adresse** die zuvor ermittelte MAC-Adresse des DECT Systems ein.
### 4. Jobs Anwenden
Nach dem Speichern von Änderungen erscheint in der Job-Box (oben) ein entsprechender Eintrag die Telefonie anzuwenden. Starten Sie den Job durch einen Klick auf den **grünen Haken**.
### 5. Provisionierung-URL ermitteln
Haken Sie das DECT-System in der Geräte-Liste an und wählen **Aktion** > **Provisioning URL**. Kopieren Sie die **URL** in die Zwischenablage.
### 6. Provisionierung-URL in der DECT Basis hinterlegen
Auf der Web-UI des DECT System tragen Sie die eben kopierte Provisionierung-URL ein.

Klicken Sie auf **Apply** und anschließend auf **Reboot**.
## Handsets anlegen und zuweisen
Es können bis zu 5 Handsets an einer Basisstation registriert werden.
Wählen Sie unter **Endgeräte** > **Geräteliste** > **Hinzufügen** den Eintrag *Via yealink DECT Gateway: Mobilteil* aus. Folgende Einstellungen müssen Sie vornehmen:
| Einstellung | Beschreibung |
| ---------------- | ---------------------------------------------------- |
| Angeschlossen an | Wählen Sie hier den DECT-Sender. |
| Zuweisung | In diesem Reiter können Sie einen Benutzer zuweisen. |
## Handsets am DECT Sender registrieren
Die Handsets verbinden sich automatisch mit dem DECT-Sender, sobald diese in den Ladeschalen stehen und die Provisionierung des DECT-Senders angewendet wurde.
{% hint style="info" %}
Ggf. ist ein Neustart der DECT-Sender notwendig.
{% endhint %}
---
# Agent Instructions
This documentation is published with GitBook. GitBook is the documentation platform designed so that both humans and AI agents can read, navigate, and reason over technical content effectively. Learn more at gitbook.com.
## Querying This Documentation
If you need additional information that is not directly available in this page, you can query the documentation dynamically by asking a question.
Perform an HTTP GET request on the following URL with the `ask` and `goal` query parameters:
```
GET https://docs.pascom.net/setup/endpoints/yealink-dect.md?ask=&goal=
```
`ask` is the immediate question: it should be specific, self-contained, and written in natural language.
`goal` is what the user is ultimately trying to achieve, the reason they need the answer. Sharing it helps GitBook give you a better, more relevant answer. A goal is most helpful when it describes the outcome the user wants rather than restating the question. For example, with `ask=how do I create an API token`, a goal like `build a script that syncs our docs to a CMS` lets GitBook tailor the answer to that use case.
The response will contain a direct answer to the question and relevant excerpts and sources from the documentation.
Use this mechanism when the answer is not explicitly present in the current page, you need clarification or additional context, or you want to retrieve related documentation sections.