> For the complete documentation index, see [llms.txt](https://docs.pascom.net/llms.txt). Markdown versions of documentation pages are available by appending `.md` to page URLs; this page is available as [Markdown](https://docs.pascom.net/en/setup/endpoints/yealink-dect.md).
# Yealink DECT System
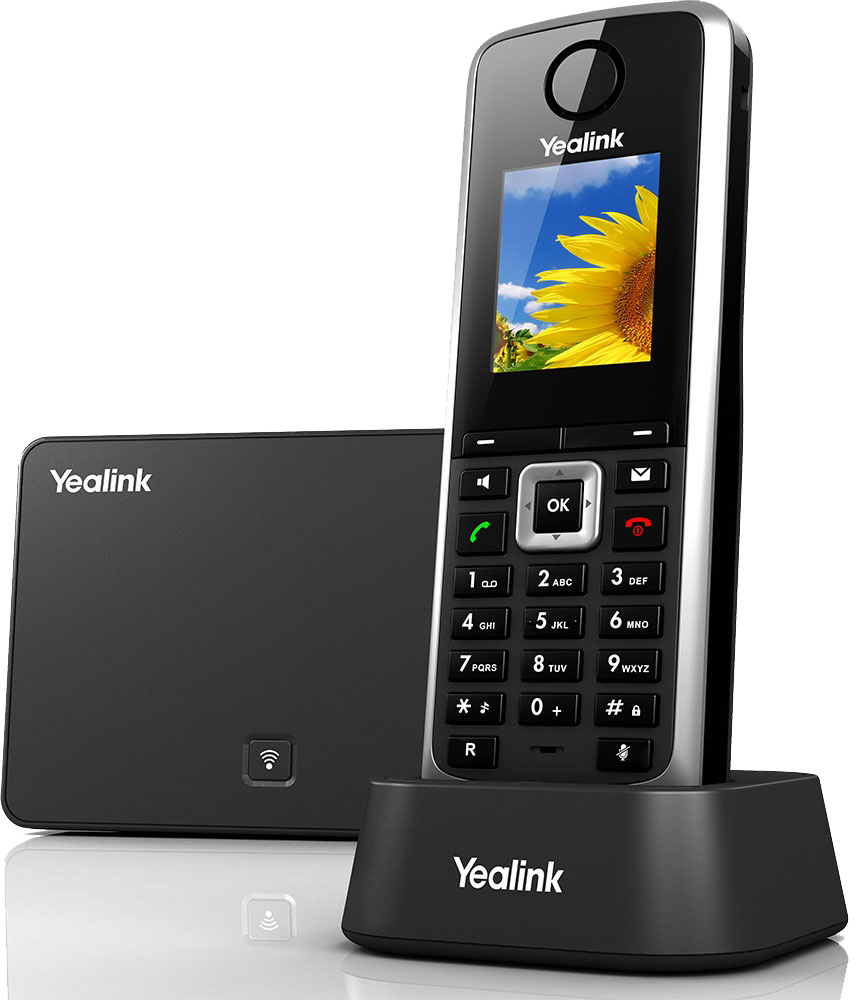
Integrate your Yealink DECT system with your PASCOM cloud phone system.
## Supported Endpoints
|Models| |---|---| |W60|W70|
## Overview
The Yealink DECT solution is ideally suited for small businesses who require only a small number of mobile handsets (maximum 5).
## Add a new DECT Base
### 1. Connect DECT System
Integrate the DECT system into your network.
### 2. Find the MAC Address
The MAC address can be found on the base station or on an enclosed memo.
### 3. Add Base Station
Log in to your PASCOM System and add a new basestation under **Gateways** > **Gatewaylist** of the type **Gateway: Yealink**.
Enter the previously determined MAC address of the DECT system in the **Mac address** field.
### 4. Apply Jobs
After saving the changes, a job box appears (above). Start the job with a click on the button **Apply**.
### 5. Find the Provision URL
Check the DECT System in the device list and select **Aktion** > **Provisioning URL**. Copy that **URL** to the clipboard.
### 6. Enter the Provisioning URL to DECT base station admin UI
Enter the just copied provisioning URL on the DECT System's Web UI.

Click on **Apply** and then on **Reboot**.
### Add and Assign Handsets
It is only possible to register a maximum of 5 handsets per base station.
Under **Devices** > **Device List** > **Add**, select the option **Via Yealink DECT Gateway: handset**. Next you will need to update the following settings: Einstellungen müssen Sie vornehmen:
| Settings | Description |
| ------------ | ---------------------------------- |
| Connected to | Select the DECT base station. |
| Assignment | In this tab, you can assign users. |
## Register Handsets to the DECT Base Station
The handsets will automatically connect themselves to the DECT base station as soon as they are placed in the charging stations and the provisioning of the Base Station has been applied.
{% hint style="info" %}
It is possible that the DECT base station may require a restart.
{% endhint %}
---
# Agent Instructions
This documentation is published with GitBook. GitBook is the documentation platform designed so that both humans and AI agents can read, navigate, and reason over technical content effectively. Learn more at gitbook.com.
## Querying This Documentation
If you need additional information that is not directly available in this page, you can query the documentation dynamically by asking a question.
Perform an HTTP GET request on the following URL with the `ask` and `goal` query parameters:
```
GET https://docs.pascom.net/en/setup/endpoints/yealink-dect.md?ask=&goal=
```
`ask` is the immediate question: it should be specific, self-contained, and written in natural language.
`goal` is what the user is ultimately trying to achieve, the reason they need the answer. Sharing it helps GitBook give you a better, more relevant answer. A goal is most helpful when it describes the outcome the user wants rather than restating the question. For example, with `ask=how do I create an API token`, a goal like `build a script that syncs our docs to a CMS` lets GitBook tailor the answer to that use case.
The response will contain a direct answer to the question and relevant excerpts and sources from the documentation.
Use this mechanism when the answer is not explicitly present in the current page, you need clarification or additional context, or you want to retrieve related documentation sections.