> For the complete documentation index, see [llms.txt](https://docs.pascom.net/llms.txt). Markdown versions of documentation pages are available by appending `.md` to page URLs; this page is available as [Markdown](https://docs.pascom.net/en/setup/acd/ai-agents-setup.md).
# How to set up PASCOM AI Agents
This guide explains how to set up and configure AI agents in your PASCOM cloud phone system.
The PASCOM cloud phone system AI agents are designed to answer calls and intelligently interact with callers or customers. This is achieved using a set of predefined prompts, enabling automated and efficient handling of customer inquiries. Integrating AI agents simplifies the call distribution process and enhances service quality through fast and consistent responses.
### Creating a New AI Agent
To create a new AI agent, access your PASCOM cloud phone system admin UI and follow these steps:
1. Navigate to **Call Distribution**.
2. Click on **AI Agents**.
3. Select **Add** to create a new agent.
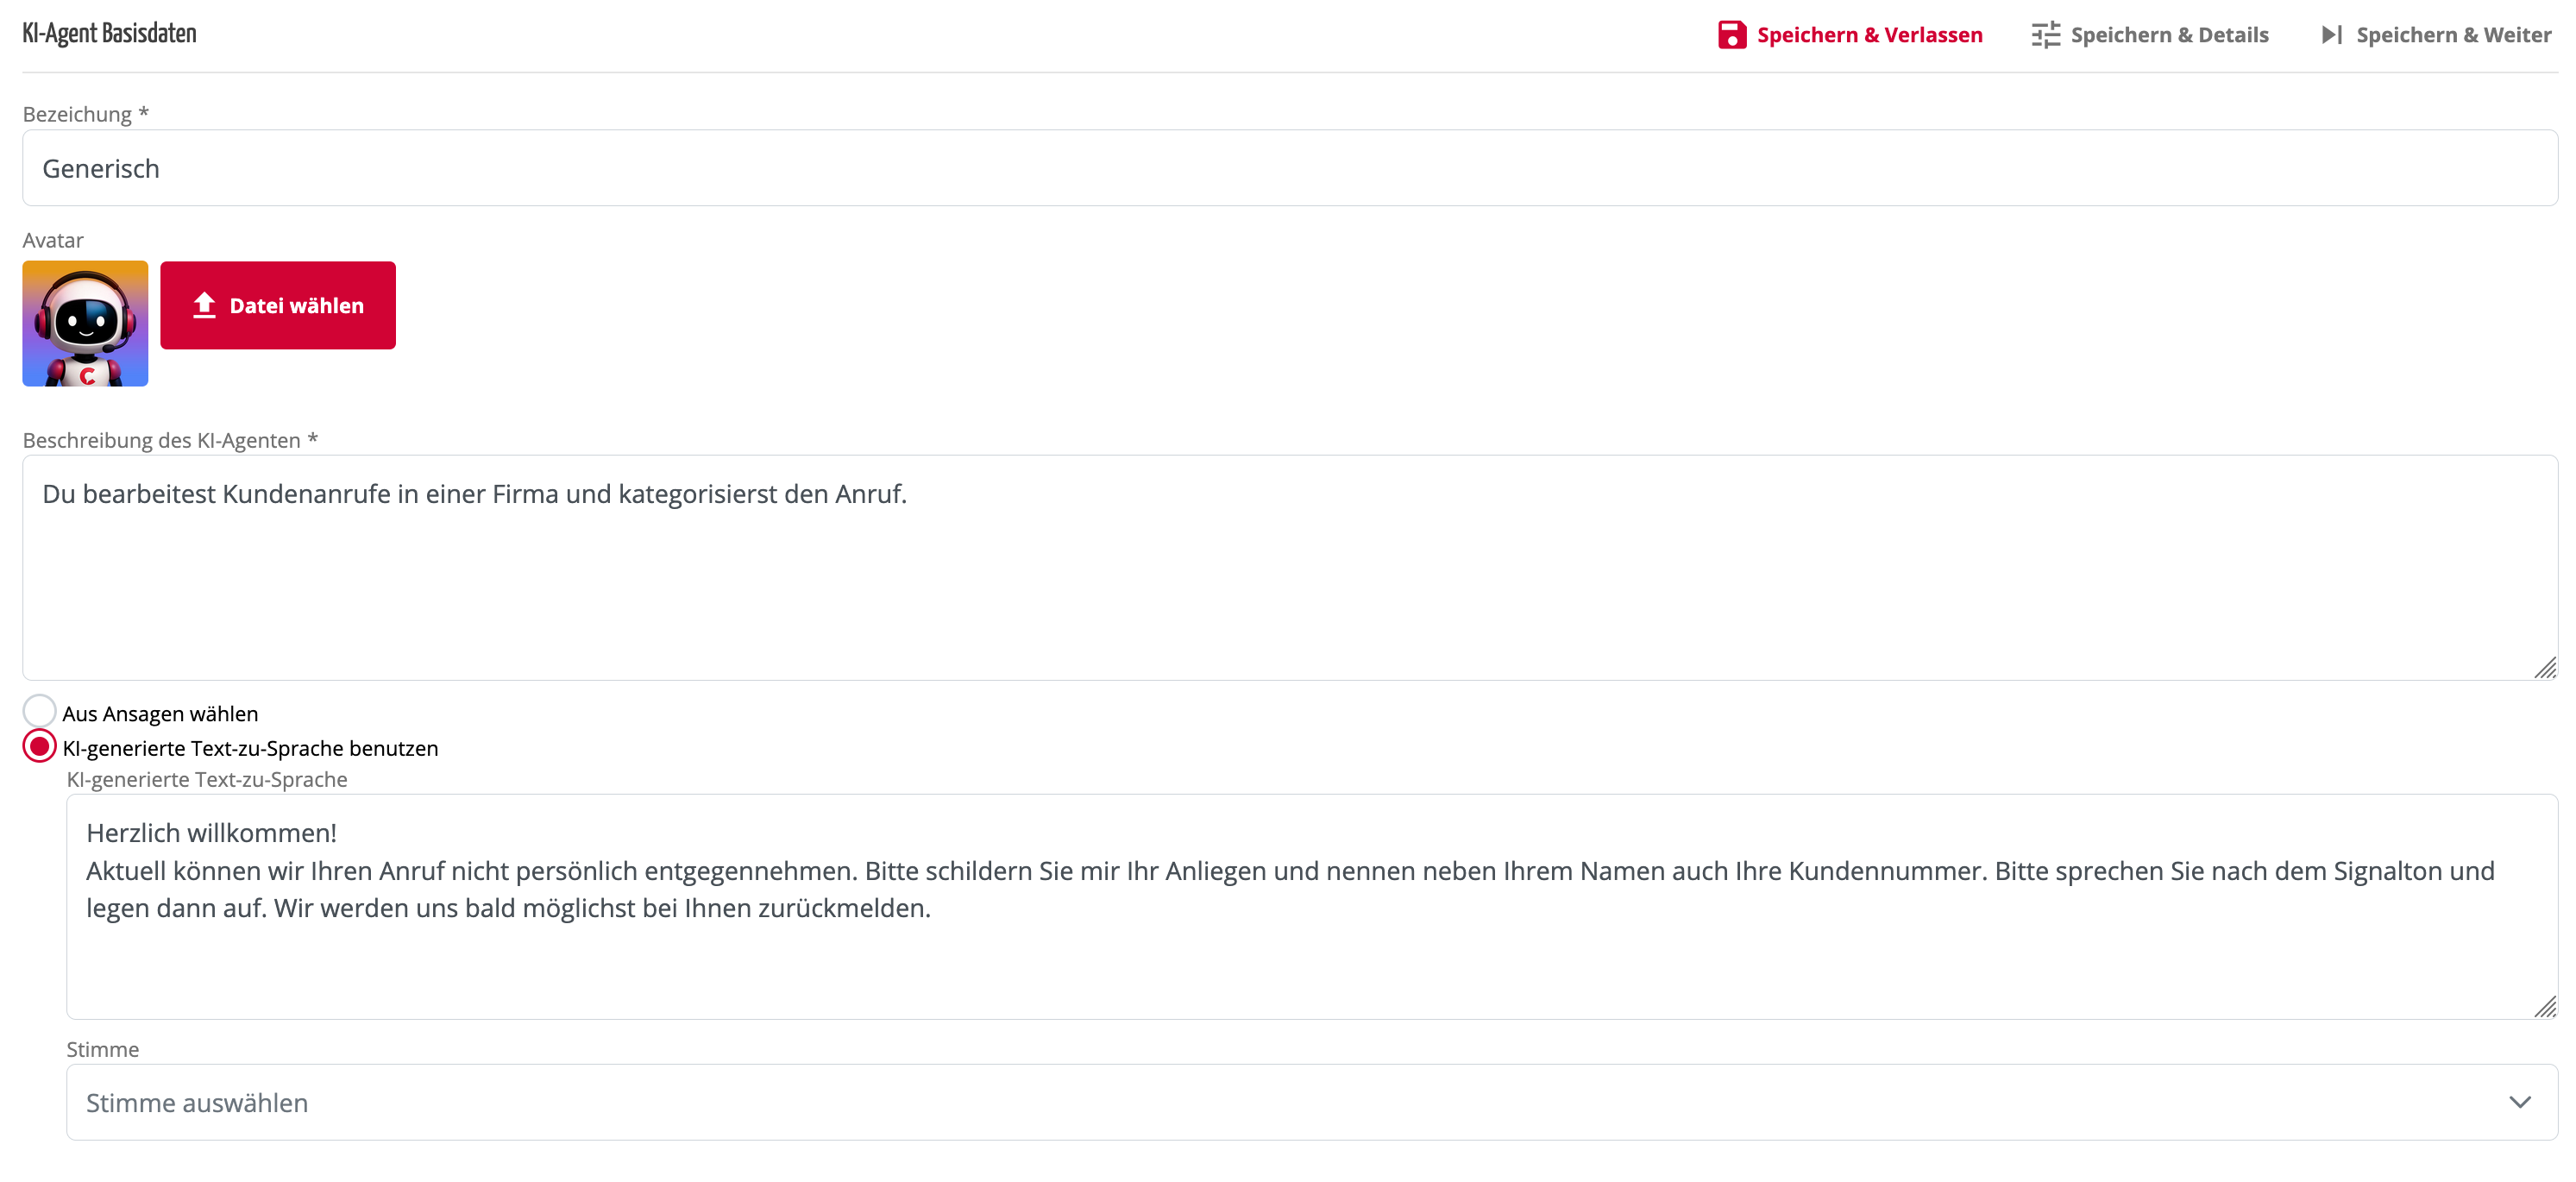
You can choose from preconfigured templates for various industries, which can be further customized to meet your specific needs. Alternatively, you can select a **generic agent** that you configure from scratch.
The basic data for your AI agent includes a name, avatar image, and description. The interaction with the caller can be based on AI-generated text-to-speech or a pre-recorded audio file. With text-to-speech, you can easily generate announcements from text. A more professional approach involves using an audio file specifically recorded for this purpose.
After entering the basic information, click **Save & Details** to access advanced settings.
### Defining AI Agent Settings
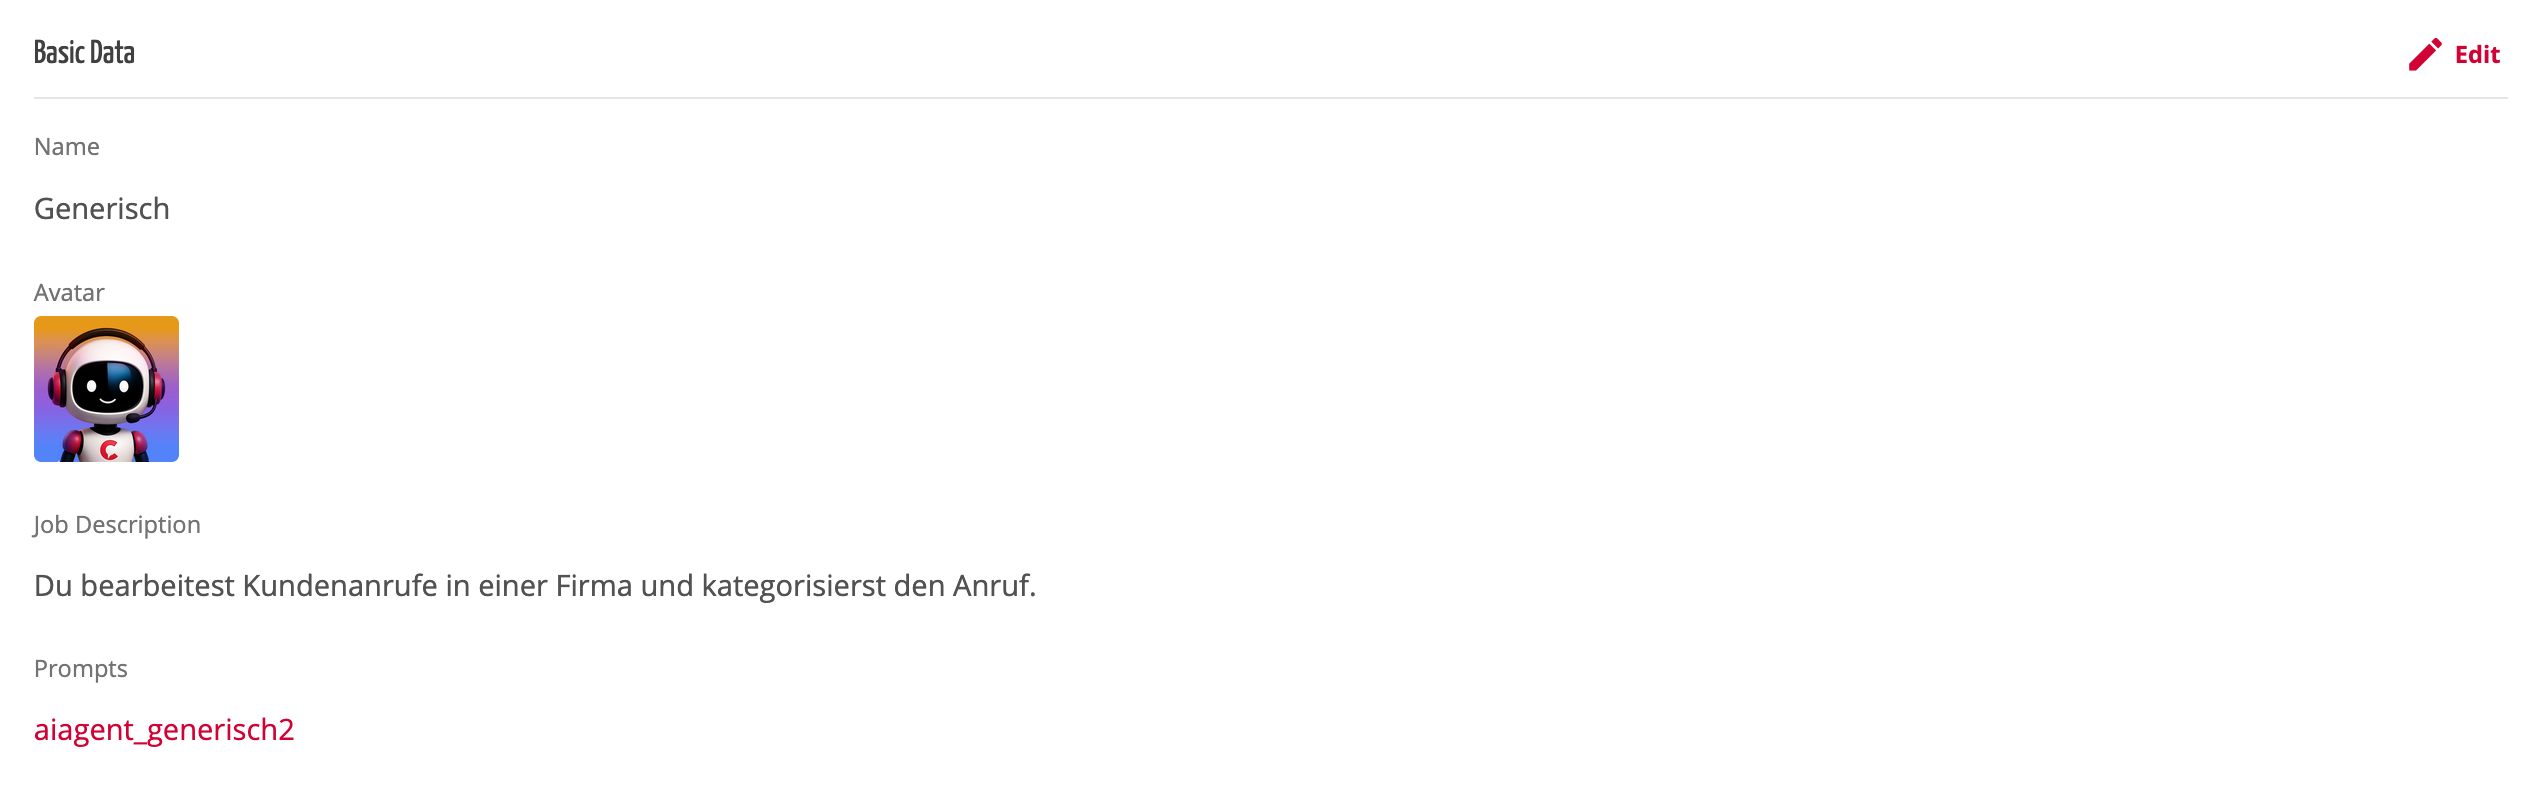
Here you can configure more specific AI Agent settings as well as configuring **prompts** which define the data extraction. These are crucial for effective interaction between the AI agent and your callers.
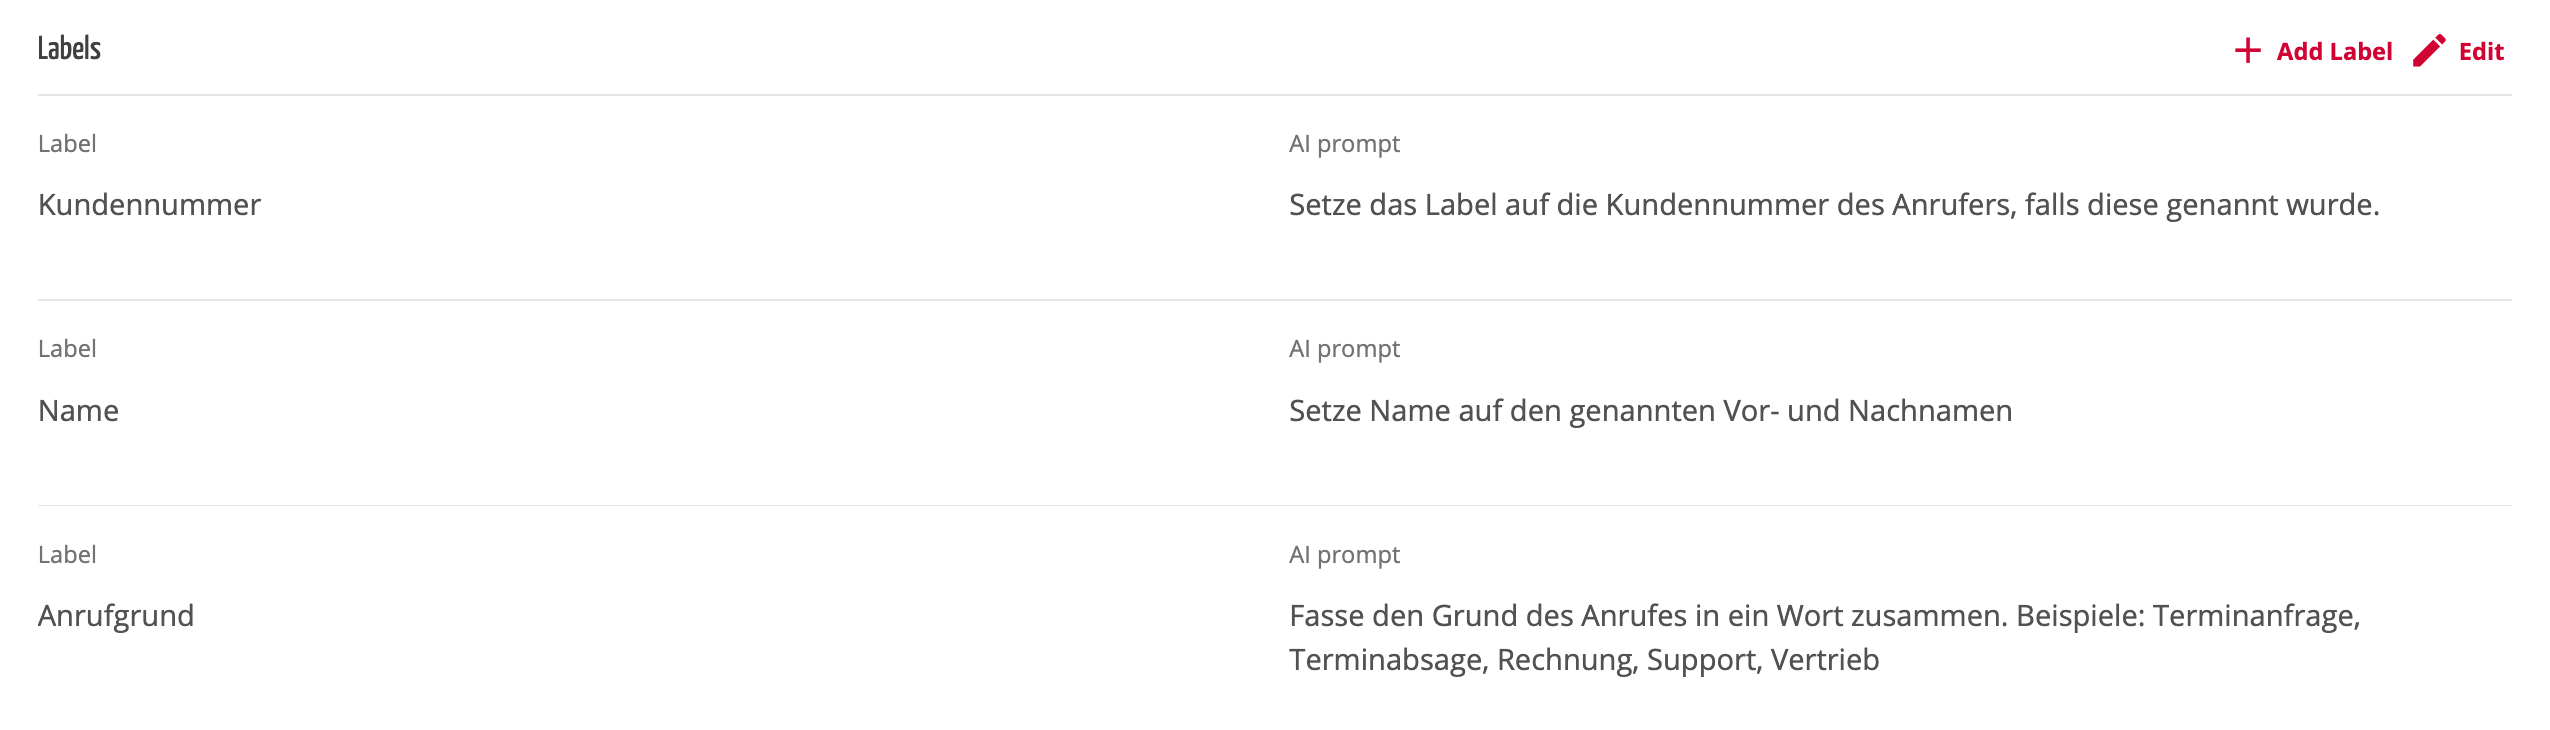
Labels are containers that will hold the data gathered by the AI agent. Some labels are predefined but can be customized or expanded as needed. You can also create entirely new labels according to your requirements.
{% hint style="success" %}
The **Labels** section is particularly important. This is where you define which information the AI agent should extract from the conversation.
{% endhint %}
Example:
| Label | AI Prompt |
| ------------------- | ------------------------------------------------------------------------------------------------------ |
| **Customer Number** | Set this label to the caller’s customer number, if mentioned. |
| **Name** | Set the name to the caller’s first and last name. |
| **Call Reason** | Summarize the reason for the call in one word. Examples: Appointment Request, Invoice, Support, Sales. |
The AI prompt is how you define the AI Agent tasks and behaviour. A precise and concise prompt formulation is highly recommended.
Once the labels and prompts have been defined, your agent is fully configured.
{% hint style="info" %}
**How does the AI Agent work?** – The caller leaves a message that is very similar to a voicemail. The audio file is then converted into text using Speech to Text AI transcription. After that, the AI agents handle data extraction and generate a summary of the call which is then displayed in the PASCOM Apps.
{% endhint %}
### Deploying the AI Agent
To activate the AI agent, assign it to a team. Once assigned, the AI agent will work according to its configuration and handle incoming calls.
In the PASCOM apps, you can view the data processed by the AI agent within the **call history**. You can find detailed instructions on how in the app handbook [here](/en/user/pascom-app-userguide/ai-agents-in-pascom-app.md).
---
# Agent Instructions
This documentation is published with GitBook. GitBook is the documentation platform designed so that both humans and AI agents can read, navigate, and reason over technical content effectively. Learn more at gitbook.com.
## Querying This Documentation
If you need additional information that is not directly available in this page, you can query the documentation dynamically by asking a question.
Perform an HTTP GET request on the following URL with the `ask` and `goal` query parameters:
```
GET https://docs.pascom.net/en/setup/acd/ai-agents-setup.md?ask=&goal=
```
`ask` is the immediate question: it should be specific, self-contained, and written in natural language.
`goal` is what the user is ultimately trying to achieve, the reason they need the answer. Sharing it helps GitBook give you a better, more relevant answer. A goal is most helpful when it describes the outcome the user wants rather than restating the question. For example, with `ask=how do I create an API token`, a goal like `build a script that syncs our docs to a CMS` lets GitBook tailor the answer to that use case.
The response will contain a direct answer to the question and relevant excerpts and sources from the documentation.
Use this mechanism when the answer is not explicitly present in the current page, you need clarification or additional context, or you want to retrieve related documentation sections.